Garmin 65W Parking Mode Cable Installation
This guide combines a real-world Garmin 65W review, a parking mode cable install on a Honda Odyssey and a GMC truck, and the warranty issue that led to a replacement unit. The goal is to keep the original hands-on value while organizing the content around the searches most likely to matter: installation, wiring logic, and what worked in practice.
What the Garmin 65W did well in real use
- Voice commands were genuinely useful for saving clips and taking pictures.
- Parking mode added a real benefit by allowing motion-triggered recording while the vehicle was off.
- Image quality and wide-angle coverage were strong enough to make the camera worth keeping in service.
- Travelapse and the save-video function made it easier to capture a full event without manually recording every drive.
What did not work as well
- Lane-departure alerts were more nuisance than help in everyday use.
- Forward-collision alerts were overly sensitive in a taller truck.
- A hardware failure eventually led to a warranty claim and replacement.
Garmin 65W warranty issue and replacement timeline
A few months after purchase, the camera froze after a voice command, started beeping, and displayed an audio-recording message. A temporary recovery came only after letting the battery drain, recharging, and reconnecting power. After that, the unit lost sound and later died completely, which led to a warranty claim and replacement.
September 25, 2017
April 1, 2018 - unit sent in
April 12, 2018
April 13 - arrived April 17, 2018
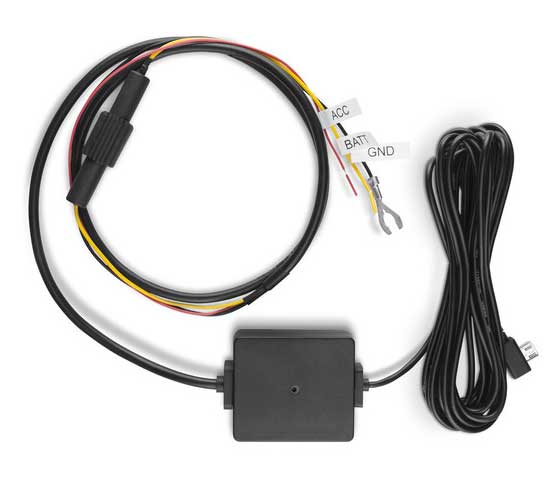
How the parking mode cable works
The cable uses three leads:
- ACC: switched/accessory power that turns off with the vehicle.
- BATT: constant power that stays live when the vehicle is off.
- GND: chassis ground.
That combination lets the dash cam know when the ignition is off while still giving it power for parked recording.
Honda Odyssey installation notes
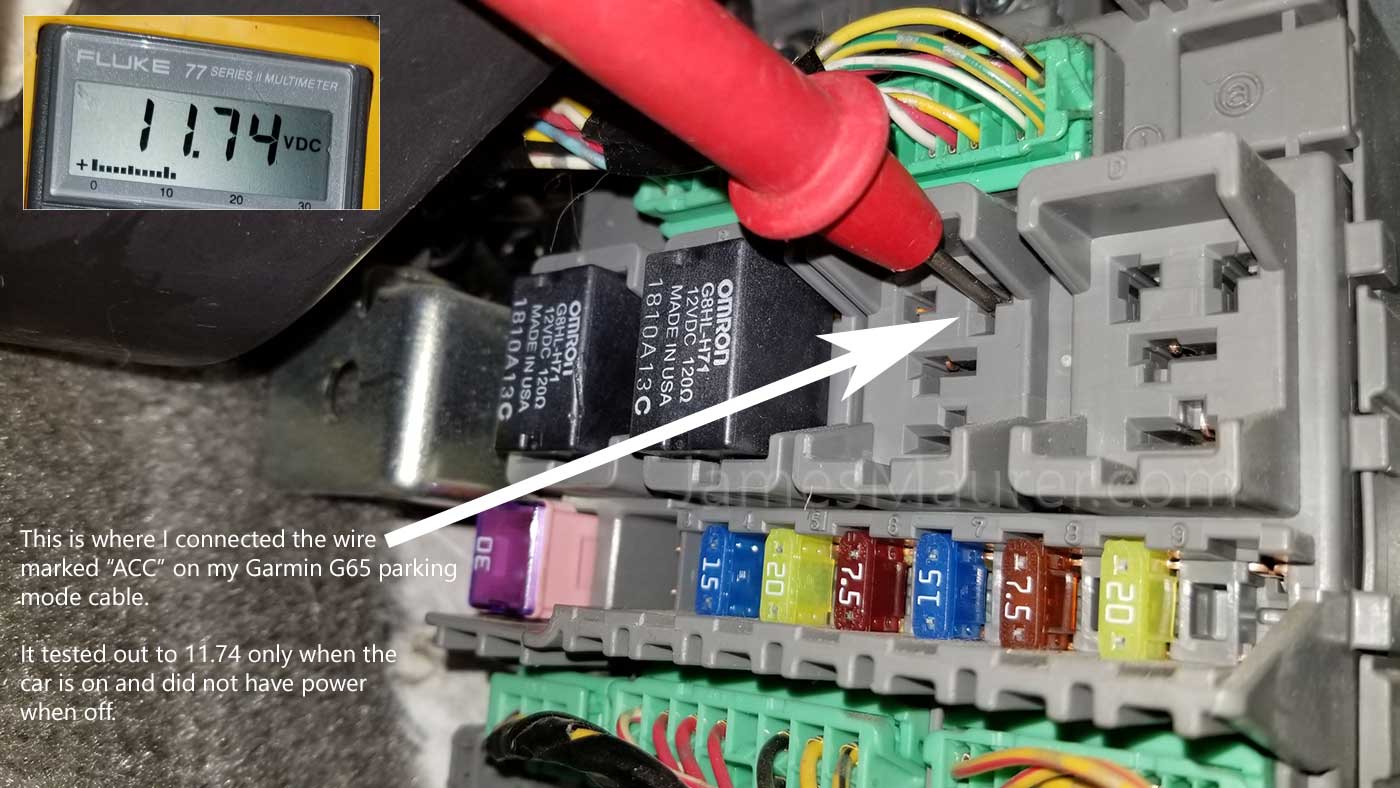
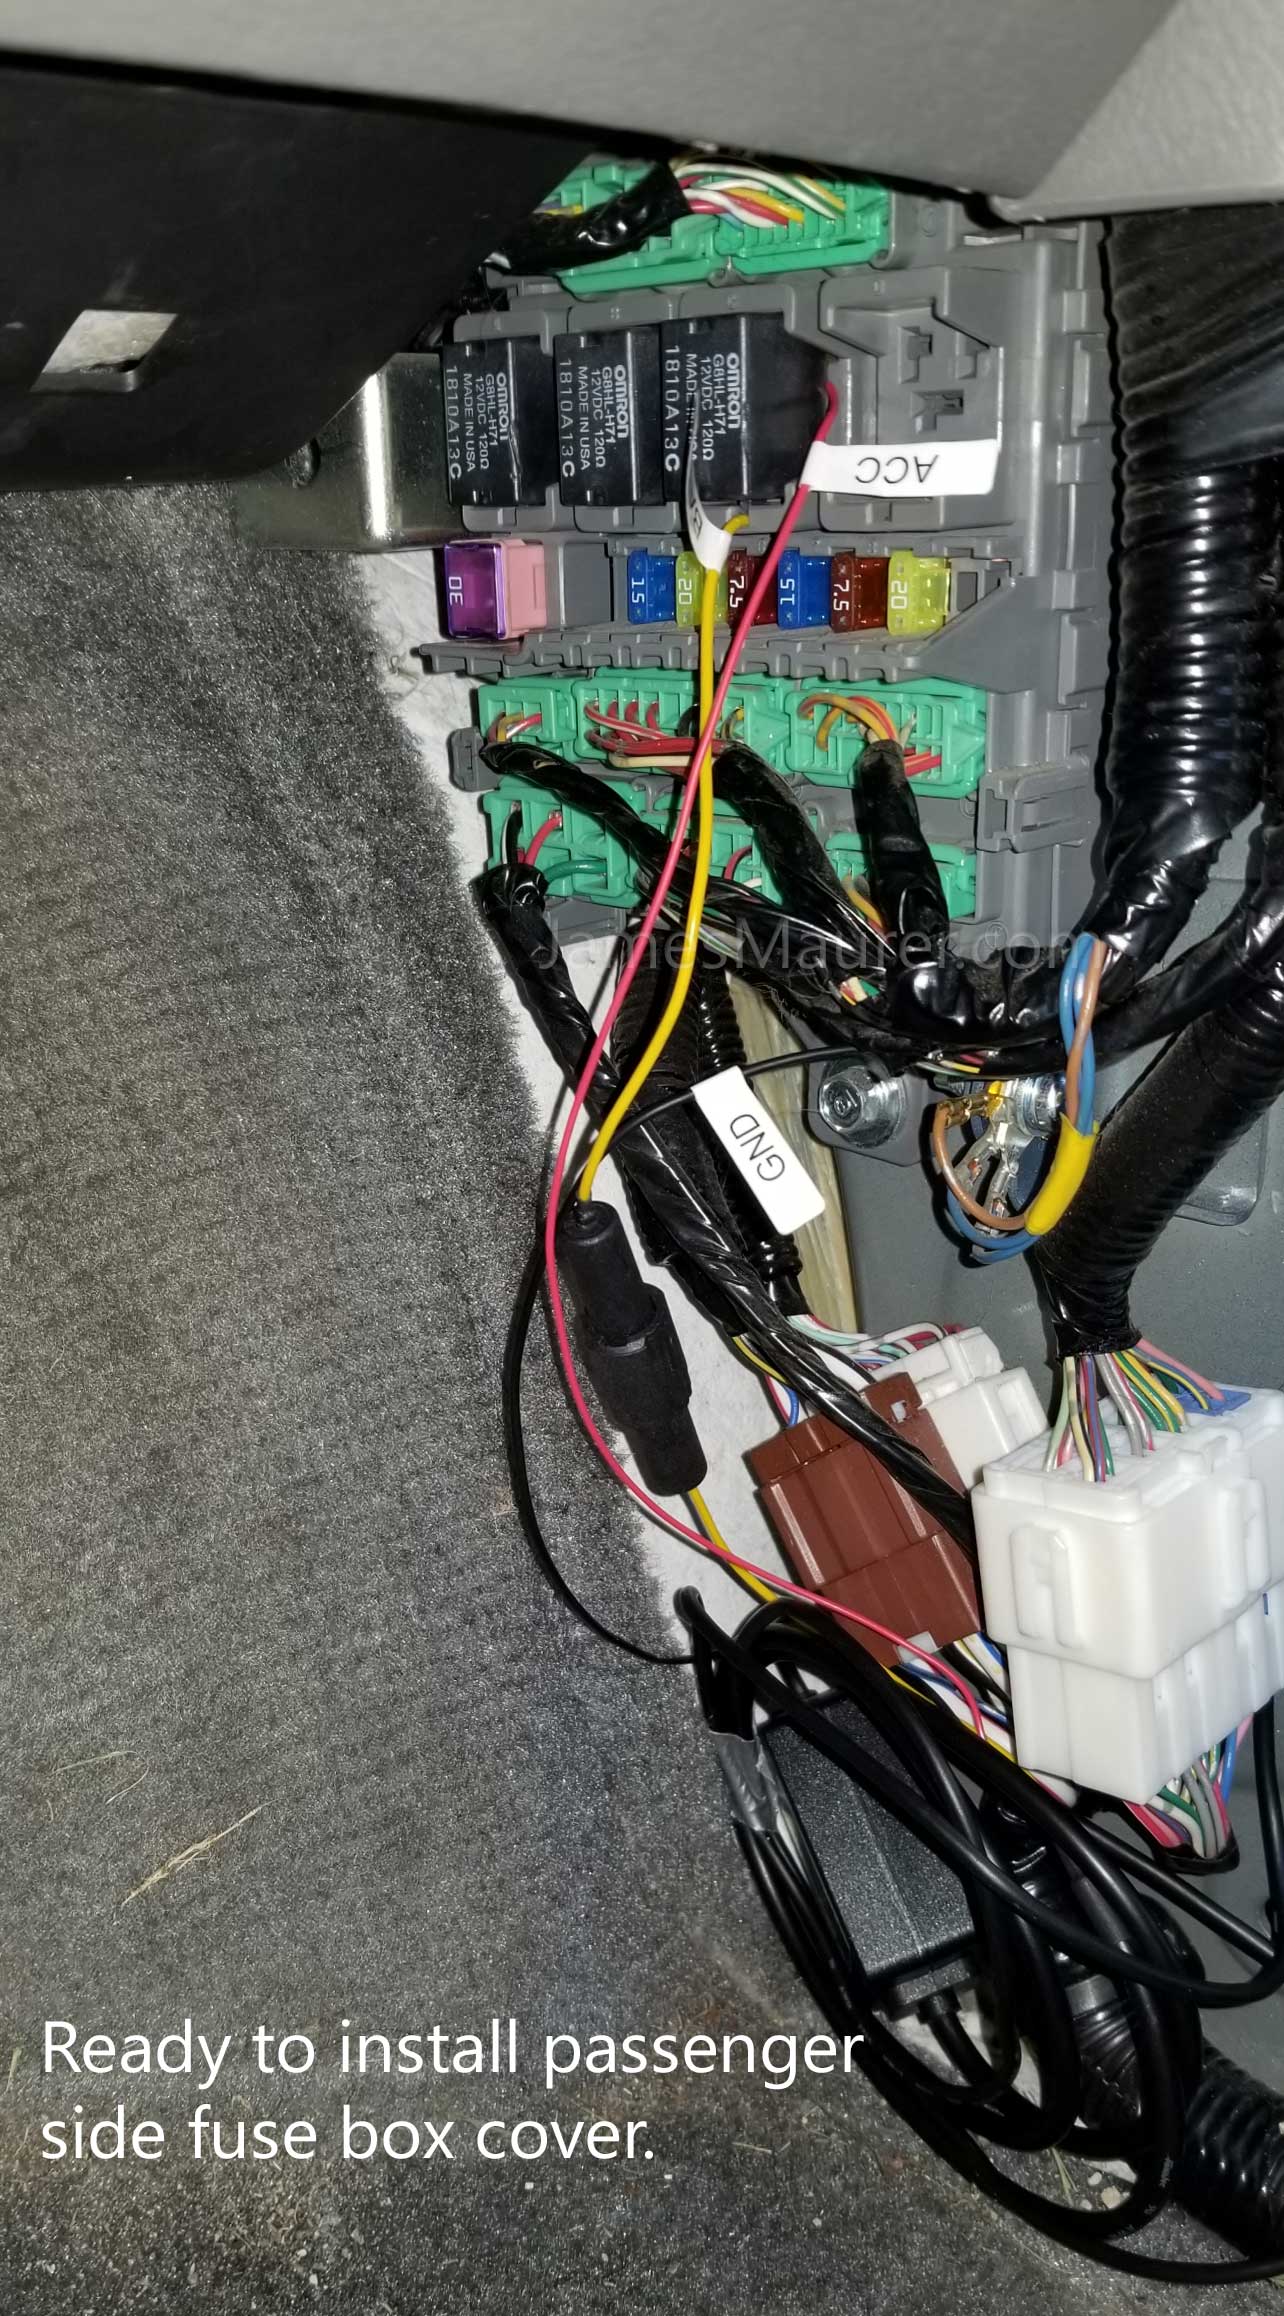
On the Odyssey, the parking mode cable was installed at the passenger-side fuse box near the passenger's left foot. A multimeter was used to identify switched versus constant power. In the original setup:
- ACC was connected to a relay position in Slot C, top right, reading about 11.74V with the van on and no power with the van off.
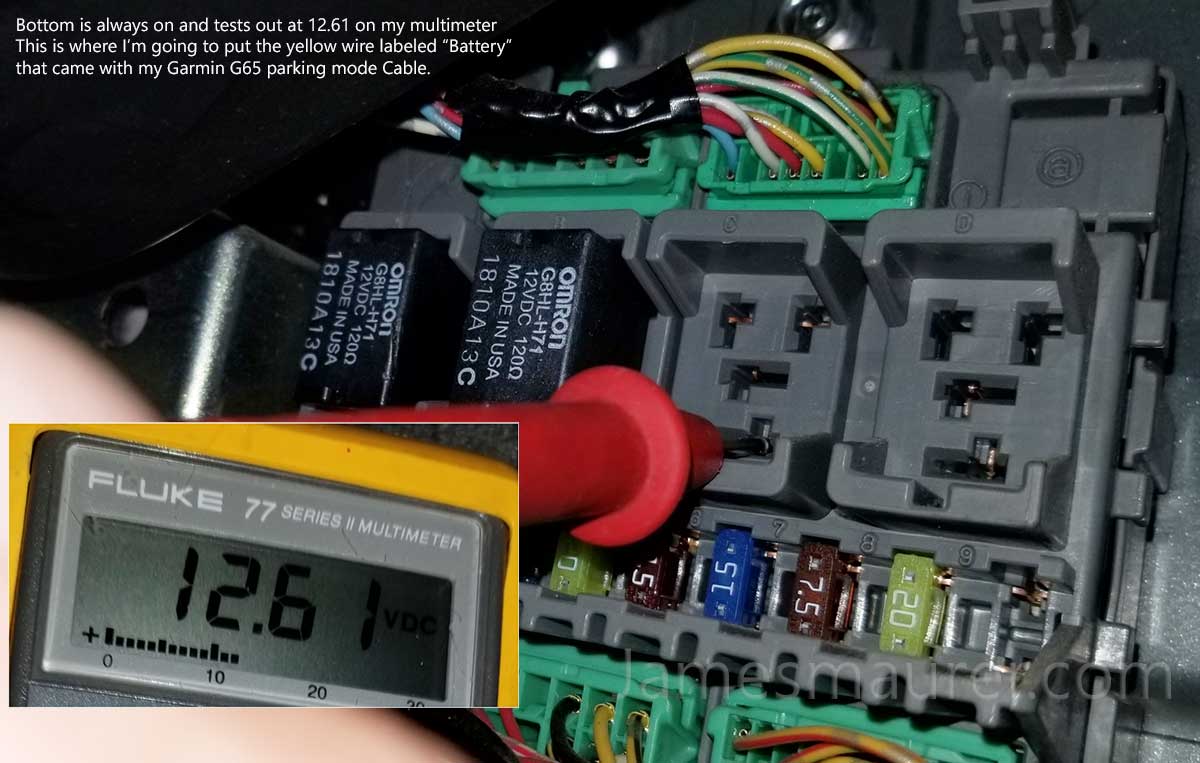
- BATT was connected to a constant-power point in Slot C, bottom, reading about 12.6V.
- GND was attached to a nearby ground screw.


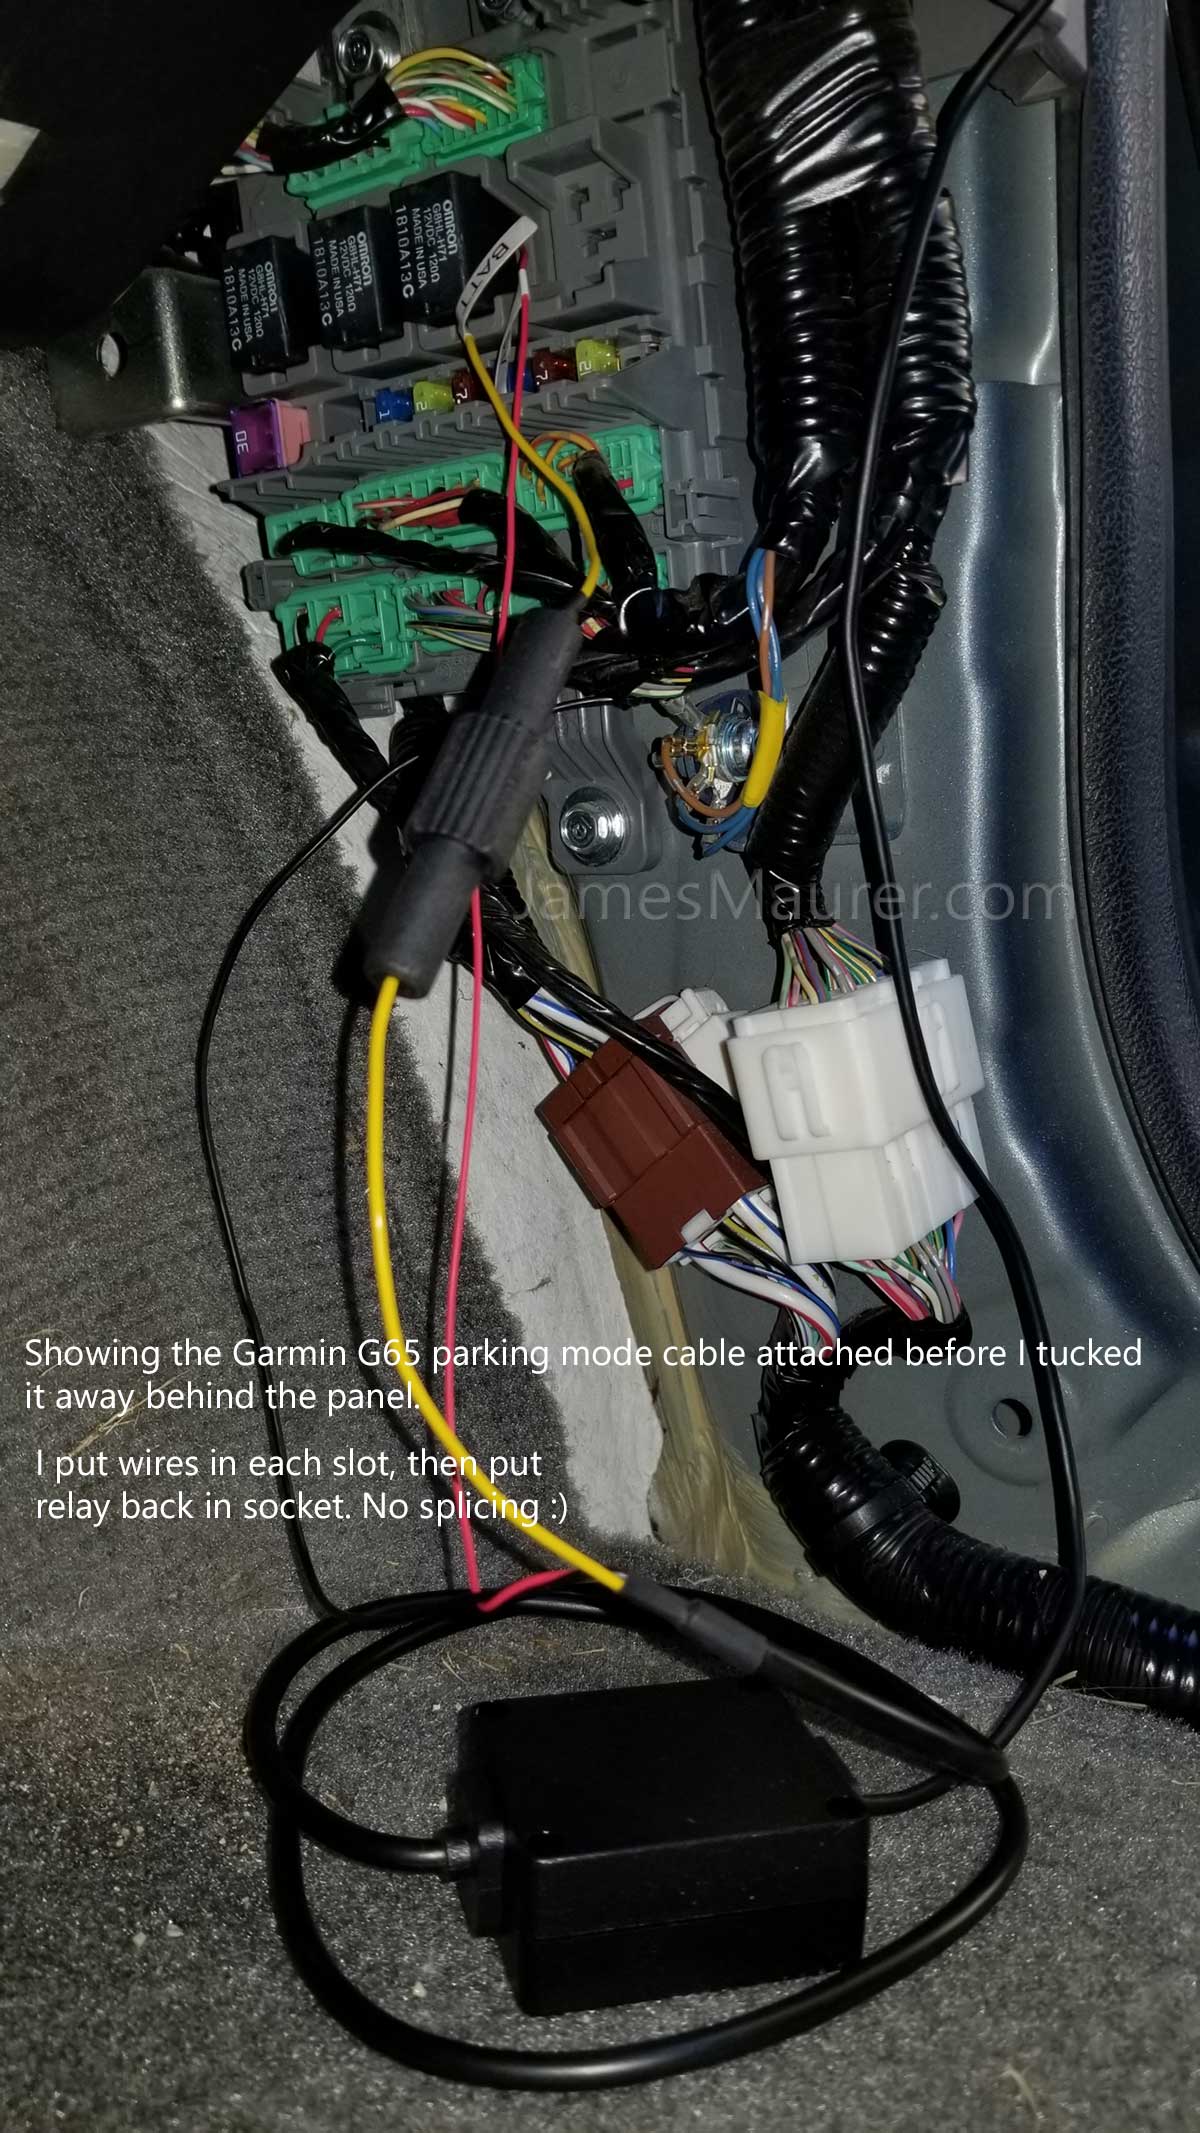

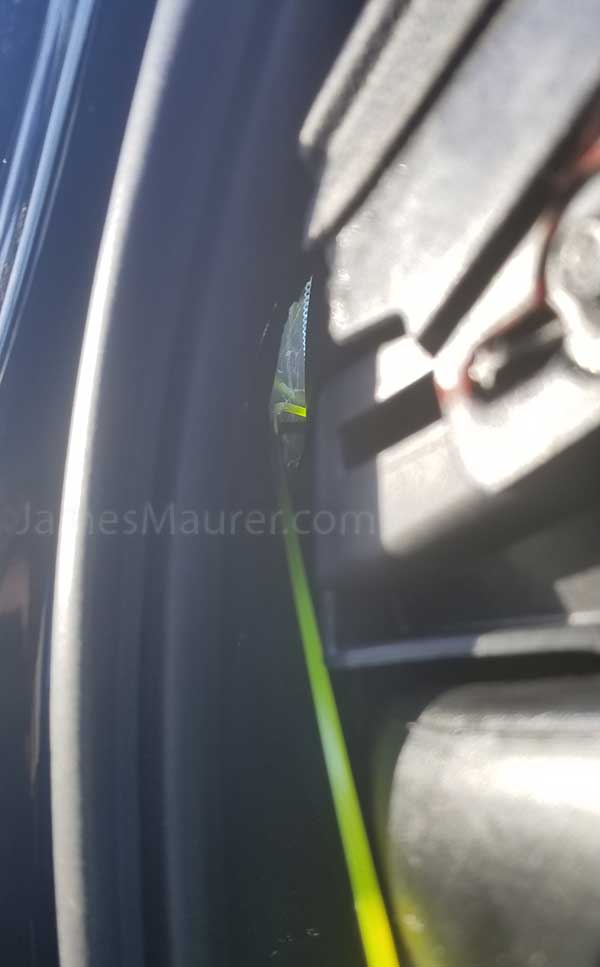
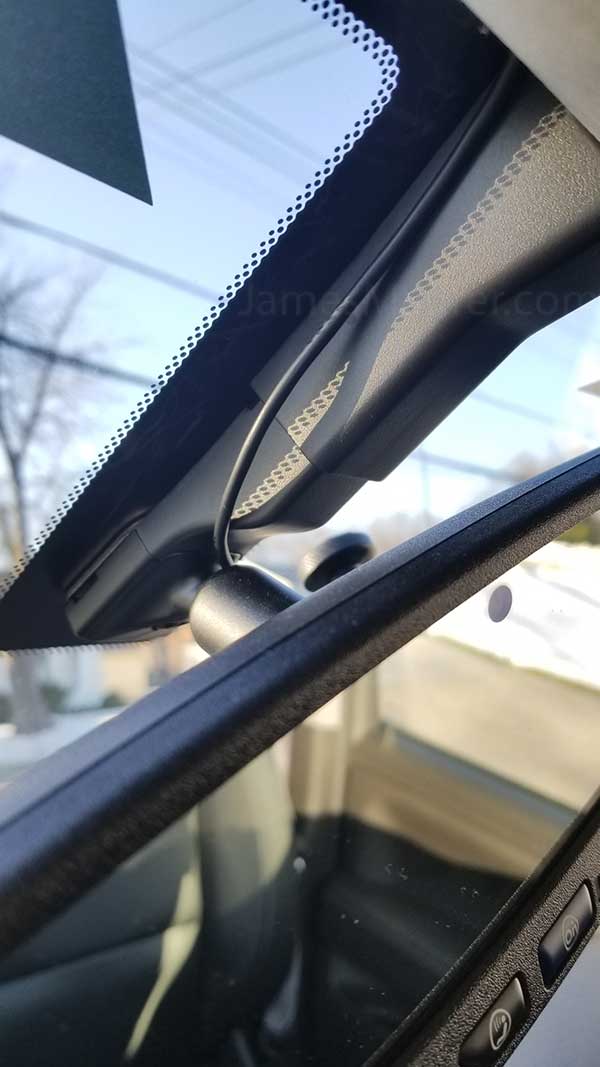
The cable was then tucked along the edge of the door and windshield and the dash cam itself was mounted just under the mirror so it did not obstruct the driver's view.
GMC truck installation notes
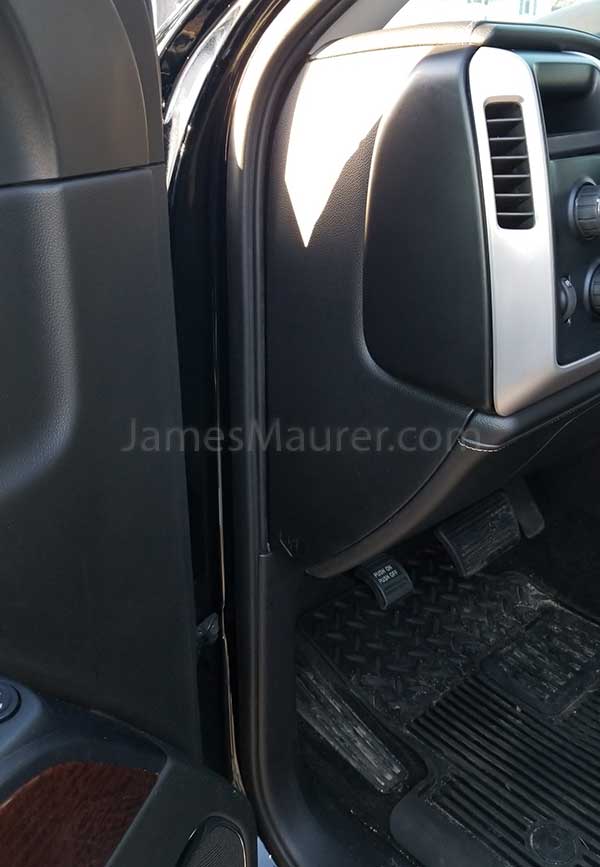
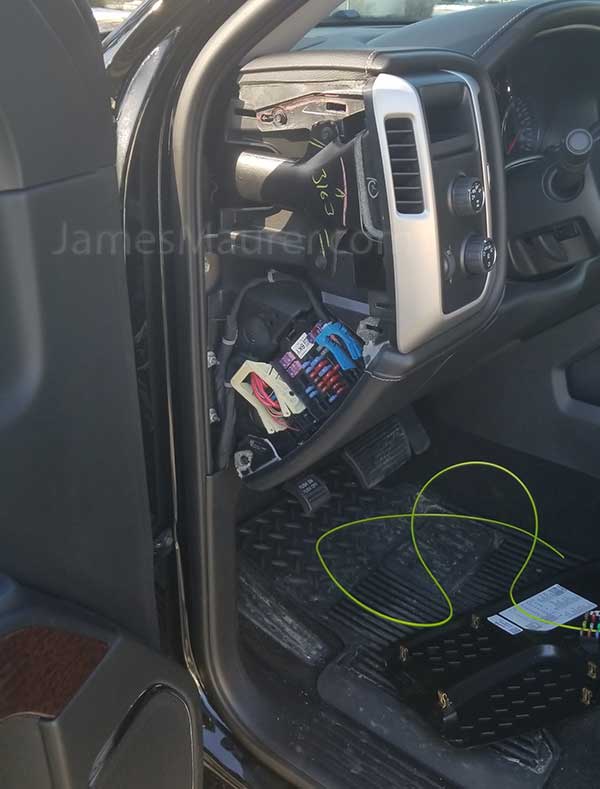
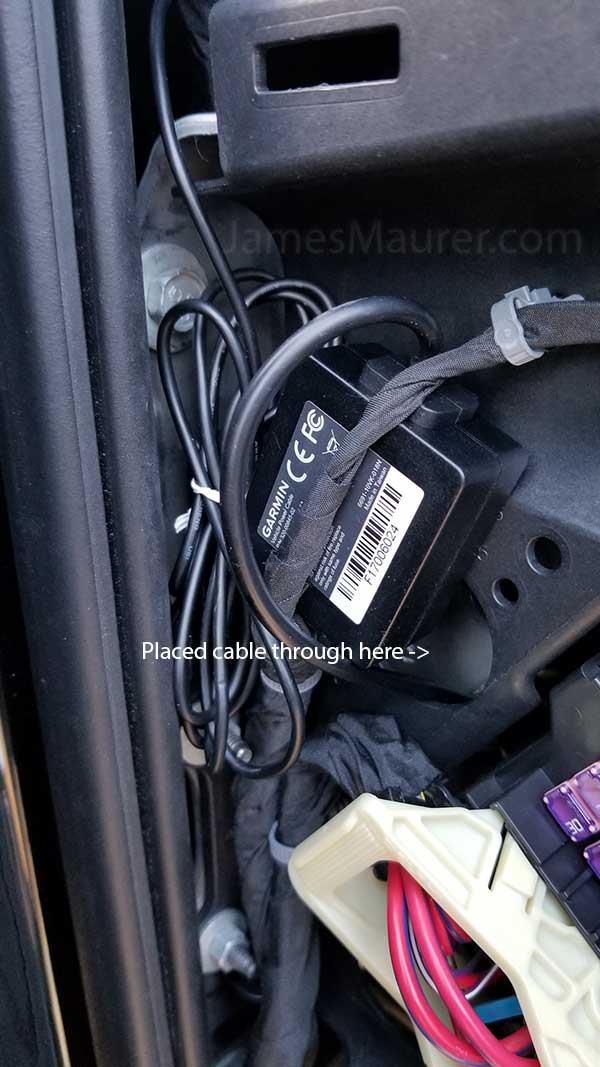
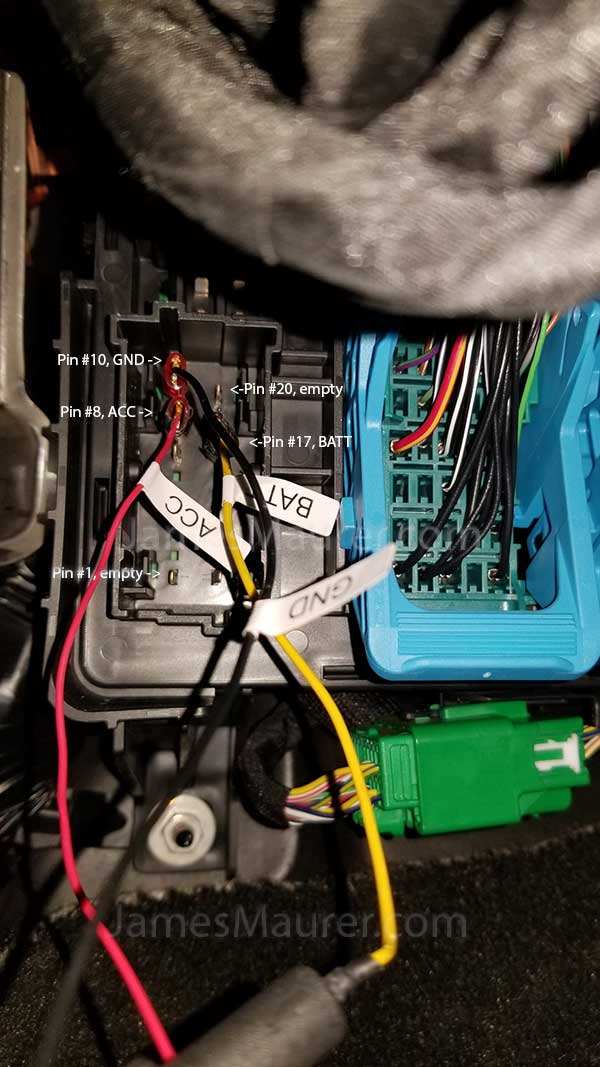
On the GMC truck, the cable routing started at the driver's side and used the gap between the dashboard and windshield to fish the cable toward the mirror. The power converter tucked in near the fuse area, and the lower fuse box under the dash provided the wiring points.
- Pin 10: ground
- Pin 8: ACC / retained accessory power (RAP)
- Pin 17: battery power
A 22-18 AWG .110 female disconnect was used for the GMC connection points.


Reader note: useful Odyssey follow-up
One comment from the original page added meaningful value and is worth preserving. A reader with a 2006 Honda Odyssey noted that the passenger-side fuse box layout looked similar, but they had removed the fuse box without removing the surrounding trim panel and were thinking through whether to use the relay legs or an add-a-fuse approach instead.
That is a genuinely helpful follow-up because it surfaces the two questions many readers will have:
- Will this general Odyssey layout still help on a 2006 model?
- Is it better to use relay legs or an add-a-fuse tap for ACC and constant power?
The safe takeaway is to verify switched and constant power with a meter, check the vehicle documentation, and choose the cleanest reversible method for your vehicle. If you are uncomfortable sharing a relay position with another circuit, an add-a-fuse path may be easier to service later.
Who this page helps most
- Drivers specifically searching for a Garmin 65W parking mode cable install
- Honda Odyssey owners trying to identify switched versus constant power for a dash cam
- GMC owners looking for a practical routing example and pin references
- Anyone deciding whether the 65W's voice commands and parking mode were worth using in real life
The installation points shown here are from a real install on specific vehicles. Before connecting anything, verify switched and constant power with a multimeter and consult your vehicle's wiring documentation.